Work with VSTS (or TFS) Work Items from Excel without installing Team Explorer

TLDR; If you just want the step-by-step on how to work with Excel and work items without installing Team Explorer, jump down to the Non-Developer's Short Guide to Using Excel with TFS/VSTS Work Items on this page.
For years, if you wanted to work with Team Foundation Server (TFS) Work Items from Excel, you had to install the Team Explorer package which basically gave you the Visual Studio Shell plus the extra bits to integrate with Office. However, starting with the 2015 release of TFS, Microsoft starting providing an installer package with just the bits you need to make Excel (and God forbid Microsoft Project) work with TFS or VSTS.
That said, do you still need Excel integration?
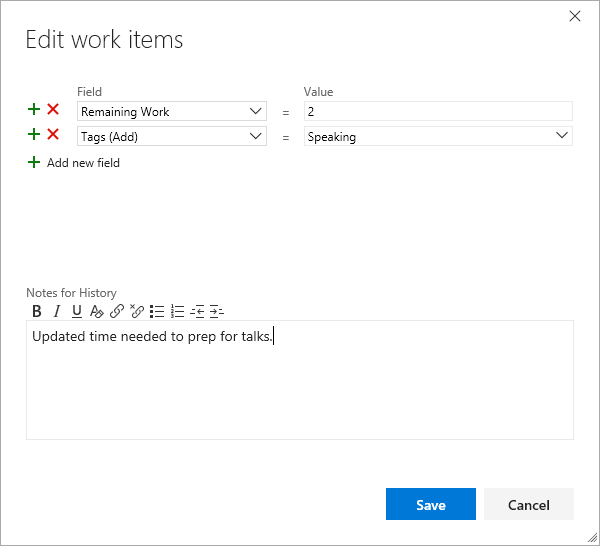
The web interface in TFS and Visual Studio Team Services (VSTS) has become rather amazing, so you won't often need to use Excel. For example, if you wanted to change a common field on multiple work items, you can select them in the UI (say a few Tasks on the Sprint Backlog, and select Edit:
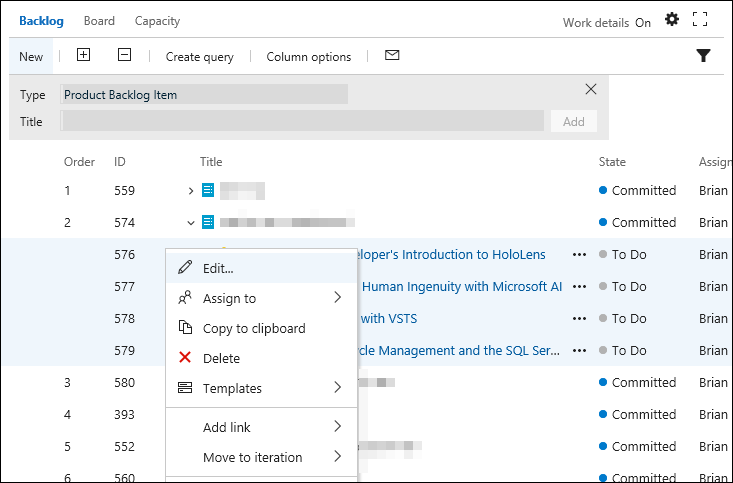
This will open the Edit work items dialog where you can modify multiple fields at the same time as well as add Notes for History.
However, Excel provides two nice advantages.
- You can work offline. By pulling down a group of work items, you can work when you don't have Internet access to your TFS server or VSTS.
- Excel can be faster when you're editing and making changes to lots of fields or copying in data from another source.
In those cases, it makes sense to use Excel.
For developers who install Visual Studio, you're good to go. However, often there are non-developers on your team who need to work with lots of work items. For them it's easy to get the Excel features without installing Team Explorer or Visual Studio.
Non-Developer's Short Guide to Using Excel with TFS/VSTS Work Items
The basic steps are:
-
Install Office 2007 or later on Windows (Sorry no support macOS versions)
-
Download and install the Team Foundation Server Office® Integration 2017
-
Connect to our TFS instance or VSTS account
To download and install the Team Foundation Server Office Integration 2017, head over to the Visual Studio Downloads page and scroll down to the section labeled Team Foundation Server 2017 Update 2. You'll find both a Web Installer and an ISO download.

The Web Installer is great if you have good Internet where as the ISO file is great when you have multiple machines or bandwidth is at a premium and you only want to pay the download cost once.
Once you've got enough of the installer downloaded or you've mounted the ISO, run it and you'll get a simple install screen. You'll need to have local Administrator rights to install. Click Install, accept the UAC prompt and it will take a few moments depending on the speed of your computer and whetehr or not you downloaded the whole package.

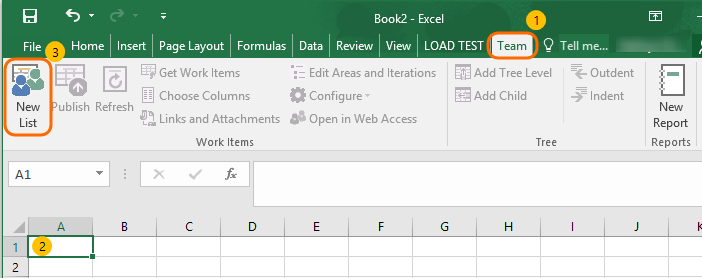
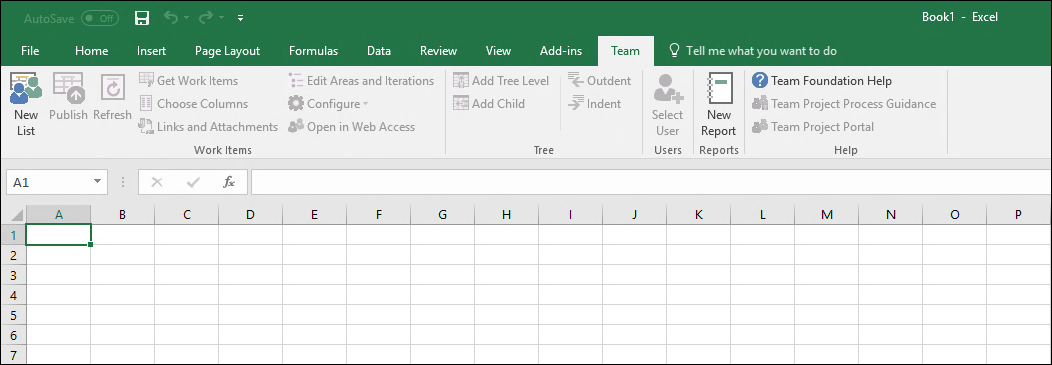
Once you've installed the package, start Excel, and you should see a Team tab on the Ribbon.
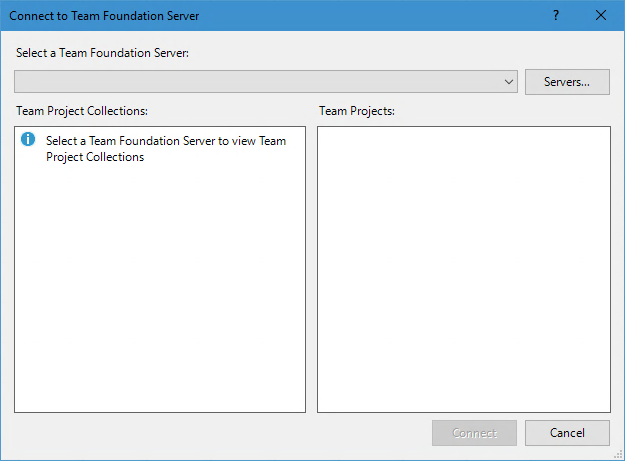
On the Team tab, choose the New List command and the Connect to Team Foundation Server dialog will open. Use it to connect to your Team Project.
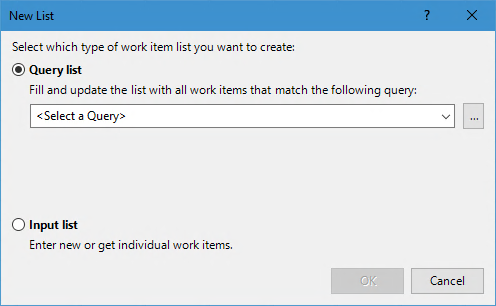
Once you're connected, you will see the New List dialog, where you can choose an existing Work Item Query or create a new Input List.
You can learn more about using Excel for Work Item Management at https://www.visualstudio.com/en-us/docs/work/office/bulk-add-modify-work-items-excel, enjoy!